ODM Management: Procedures and Precautions
Step 1 - Clarify Your Needs and Requirements
When planning to start your own brand and customize the design of an EV charger, it's crucial to have a clear understanding of your product requirements and market positioning:
- Who is your target consumer group?
- What functionalities are they most focused on?
- What is your product or brand positioning?
- What are your sales channels: online or distribution network?
- What is your target price and cost?
The clearer your requirements, the more precise the customization process will be. If you're new to this field or lack a clear vision, we can provide product suggestions based on your ideas. The information below may also help you refine your business strategy.

Who Is Suitable for ODM Service?
Many newcomers to the EV charging field prefer ODM services to build their own brand. But who is truly suitable to customize a new product from scratch?
- Individuals with clear knowledge and understanding of EV charging stations and substantial experience interacting with EV charging teams.
- Companies with a mature sales team, stable sales channels, and clear sales planning—whether online (like Amazon, eBay, or Walmart) or through a distribution network.
- Businesses that know their customization needs and have a clear target market and sales strategy.
- Those with a positive outlook on the electric vehicle industry and confidence in the rapid growth of the charging station market.
- Companies that own or plan to establish their own EV charger brand.
- Entities planning an annual sales volume of more than 2,000 units.
If you meet at least four of the above conditions, you're well-suited to begin the ODM customization service.
Step 2 - Confirm the Details
Consider the following points in an ODM customization service:
- Appearance or Enclosure Design: Provide features or sketches.
- Functionality: Display, app integration, Bluetooth, 4G, dynamic load balancing, LED light strips, etc.
- Electrical Parameters: Power, IP rating, RCD types, protection features, dimensions, etc.
- Certification: TUV, BV, RoHS, REACH, CE, UL, ETL, FCC, etc.
- External Features: Logo, color, material texture, stickers, etc.
- Packaging Details: User manual, package design, labels, etc.
- Customization Period and Cost: Typically 5–7 weeks, costing between $20,000–$50,000, including design, molding, and certification costs.
Be aware that customization is time-consuming and requires careful planning. It generally takes 5–7 weeks for the first edition to be ready, plus additional weeks for design revisions. Confirming all details before starting the contract is vital. We will provide a customized requirements form to assist you
Step 3 - Sign the Contract
After finalizing all details, you can sign the formal development contract, which outlines the product requirements, project timeline, and payment terms. The customization project officially begins once the contract is signed.
No adjustments can typically be made to the confirmed details once the project starts. Changes may cause delays and are best avoided.
After-sales service terms will be specified in the contract.
Step 4 - Start Customization
Key points during the project
- Structure and Mold Customization: Approval of the first sample via a 3D-printed model.
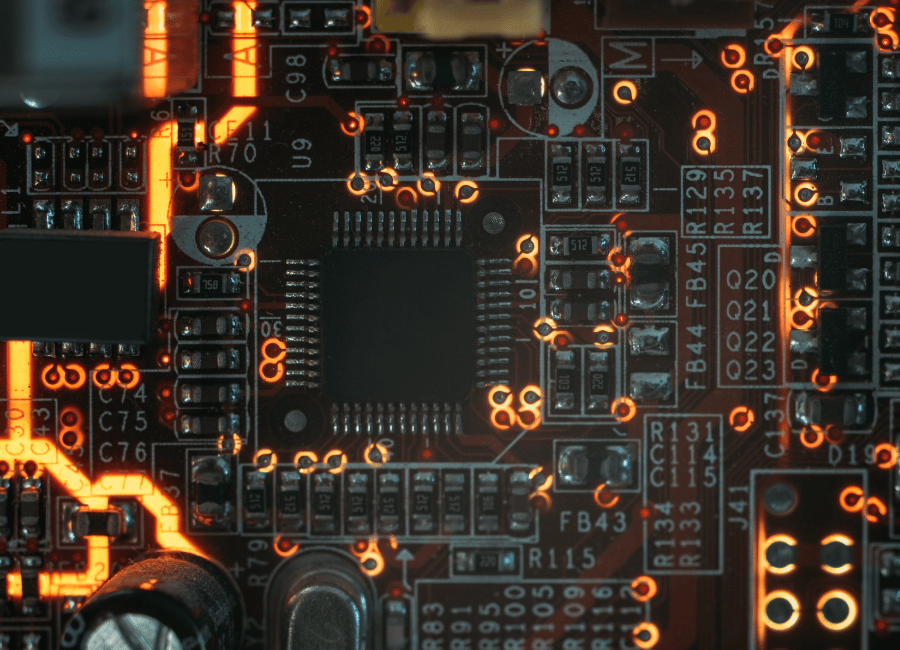
- Circuit Board Design and Software Programming: Functional approval using manually assembled PCBs.
- Mold Production: After sample approval, the mold is produced. Changes after confirmation may incur additional fees, so careful decision-making during sample review is essential.
Step 5 - Sample Test
Two sample checks will be conducted:
- First Sample: A 3D-printed model for design verification.
- Second Sample: A molded sample with full functionality.
Features to examine:
- Material texture and appearance alignment with the design.
- IP rating, waterproofing, and structural workmanship.
- Proper wiring of circuit boards and electrical components.
- Compliance of electrical performance with standards.
- Functionality as specified in the contract—especially effective charging of electric vehicles.
- Proper triggering of all protection features.
Step 6 - Small Batch Product Test
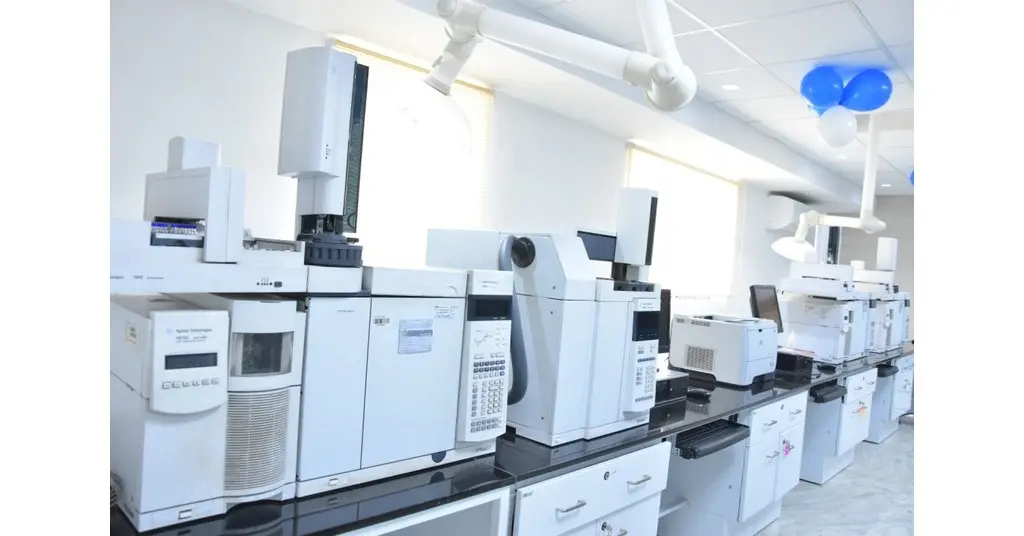
Initial samples are manually assembled and not standard products. Small batch production occurs on the assembly line, with engineers testing each unit for stability, failure rates, and faults.
This phase is critical for identifying issues that may not appear in initial samples. Engineers use extreme conditions to uncover potential problems, allowing them to optimize the design for reliability in mass production.
Step 7 - Certification Procedure
Once small batch testing confirms product stability, certification can begin. Certification timelines vary:
- TUV CE Certification: Approximately 3–4 months from sample delivery.
- UL or ETL Certification: Approximately 4–6 months, possibly longer due to lab scheduling.
Experienced factories may pass certification in 2–3 attempts; less experienced ones may require more. Success depends on the engineers' familiarity with standards and testing methods.
Step 8 - Project Accomplishment
Receiving certification signifies that the hardware and functionality of your customized product are finalized. Software updates can continue to enhance user experience. The product is now ready for sales, promotion, and mass production.
During certification, packaging design, label creation, and user manual development are completed. This period also allows you to solidify marketing strategies and inventory plans. Preparing customized materials and components takes time, and the factory needs to plan production to maintain appropriate inventory levels based on your sales forecasts.